How to Connect and Extend Your Laptop Display to Multiple Monitors
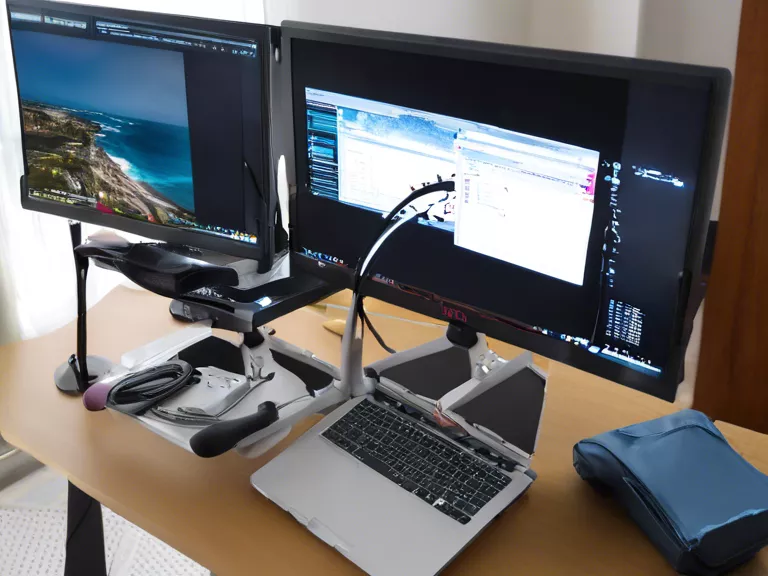
If you find yourself needing more screen real estate to boost your productivity, extending your laptop display to multiple monitors can be a game-changer. Whether you want to compare documents side by side, have multiple projects open at once, or simply enjoy a more immersive gaming experience, connecting additional monitors to your laptop is easier than you might think.
Step 1: Check your ports
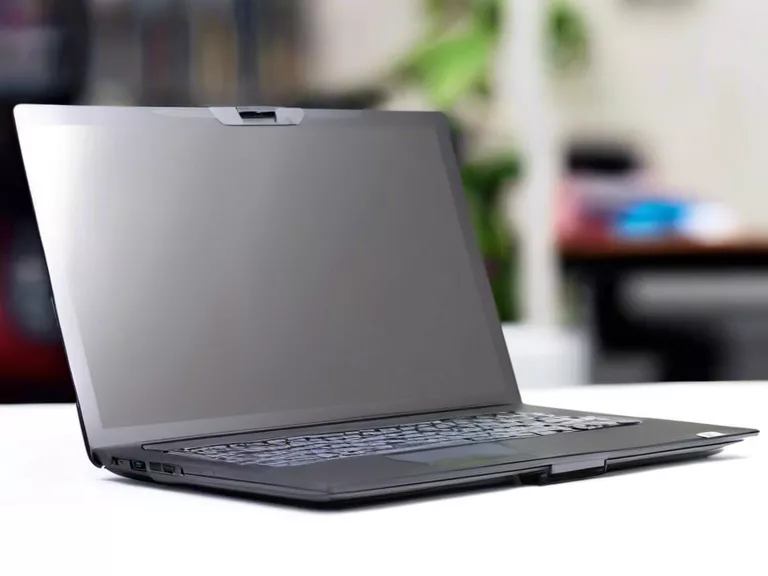
The first step is to identify what ports your laptop has available for connecting additional monitors. Common ports include HDMI, DisplayPort, USB-C, and VGA. Make sure you have the necessary cables and adapters to connect your monitors to these ports.
Step 2: Connect your monitors
Once you have the required cables and adapters, connect your monitors to your laptop using the appropriate ports. Most laptops support connecting multiple monitors, allowing you to extend your display. Depending on your laptop's graphics card, you may be able to connect up to two or more monitors.
Step 3: Configure your display settings
After connecting your monitors, you'll need to configure your display settings. In Windows, right-click on the desktop and select "Display settings" to customize how your monitors are arranged and how they function. You can choose to extend your display, duplicate your screen, or use one monitor as the primary display.
Step 4: Update your drivers
To ensure everything works smoothly, make sure your graphics card drivers are up to date. This will help prevent compatibility issues and ensure optimal performance when using multiple monitors.
Step 5: Enjoy the extra screen space
Once you've followed these steps, you're all set to enjoy the benefits of an extended display. Whether you're working on spreadsheets, editing videos, or gaming, having multiple monitors can greatly enhance your workflow and overall computing experience.


